C & C++ fundamentals / 00
Setting up an editor and compiler
Set up Visual Studio Code, C/C++ IntelliSense, and a compiler on macOS or Windows.
On this page
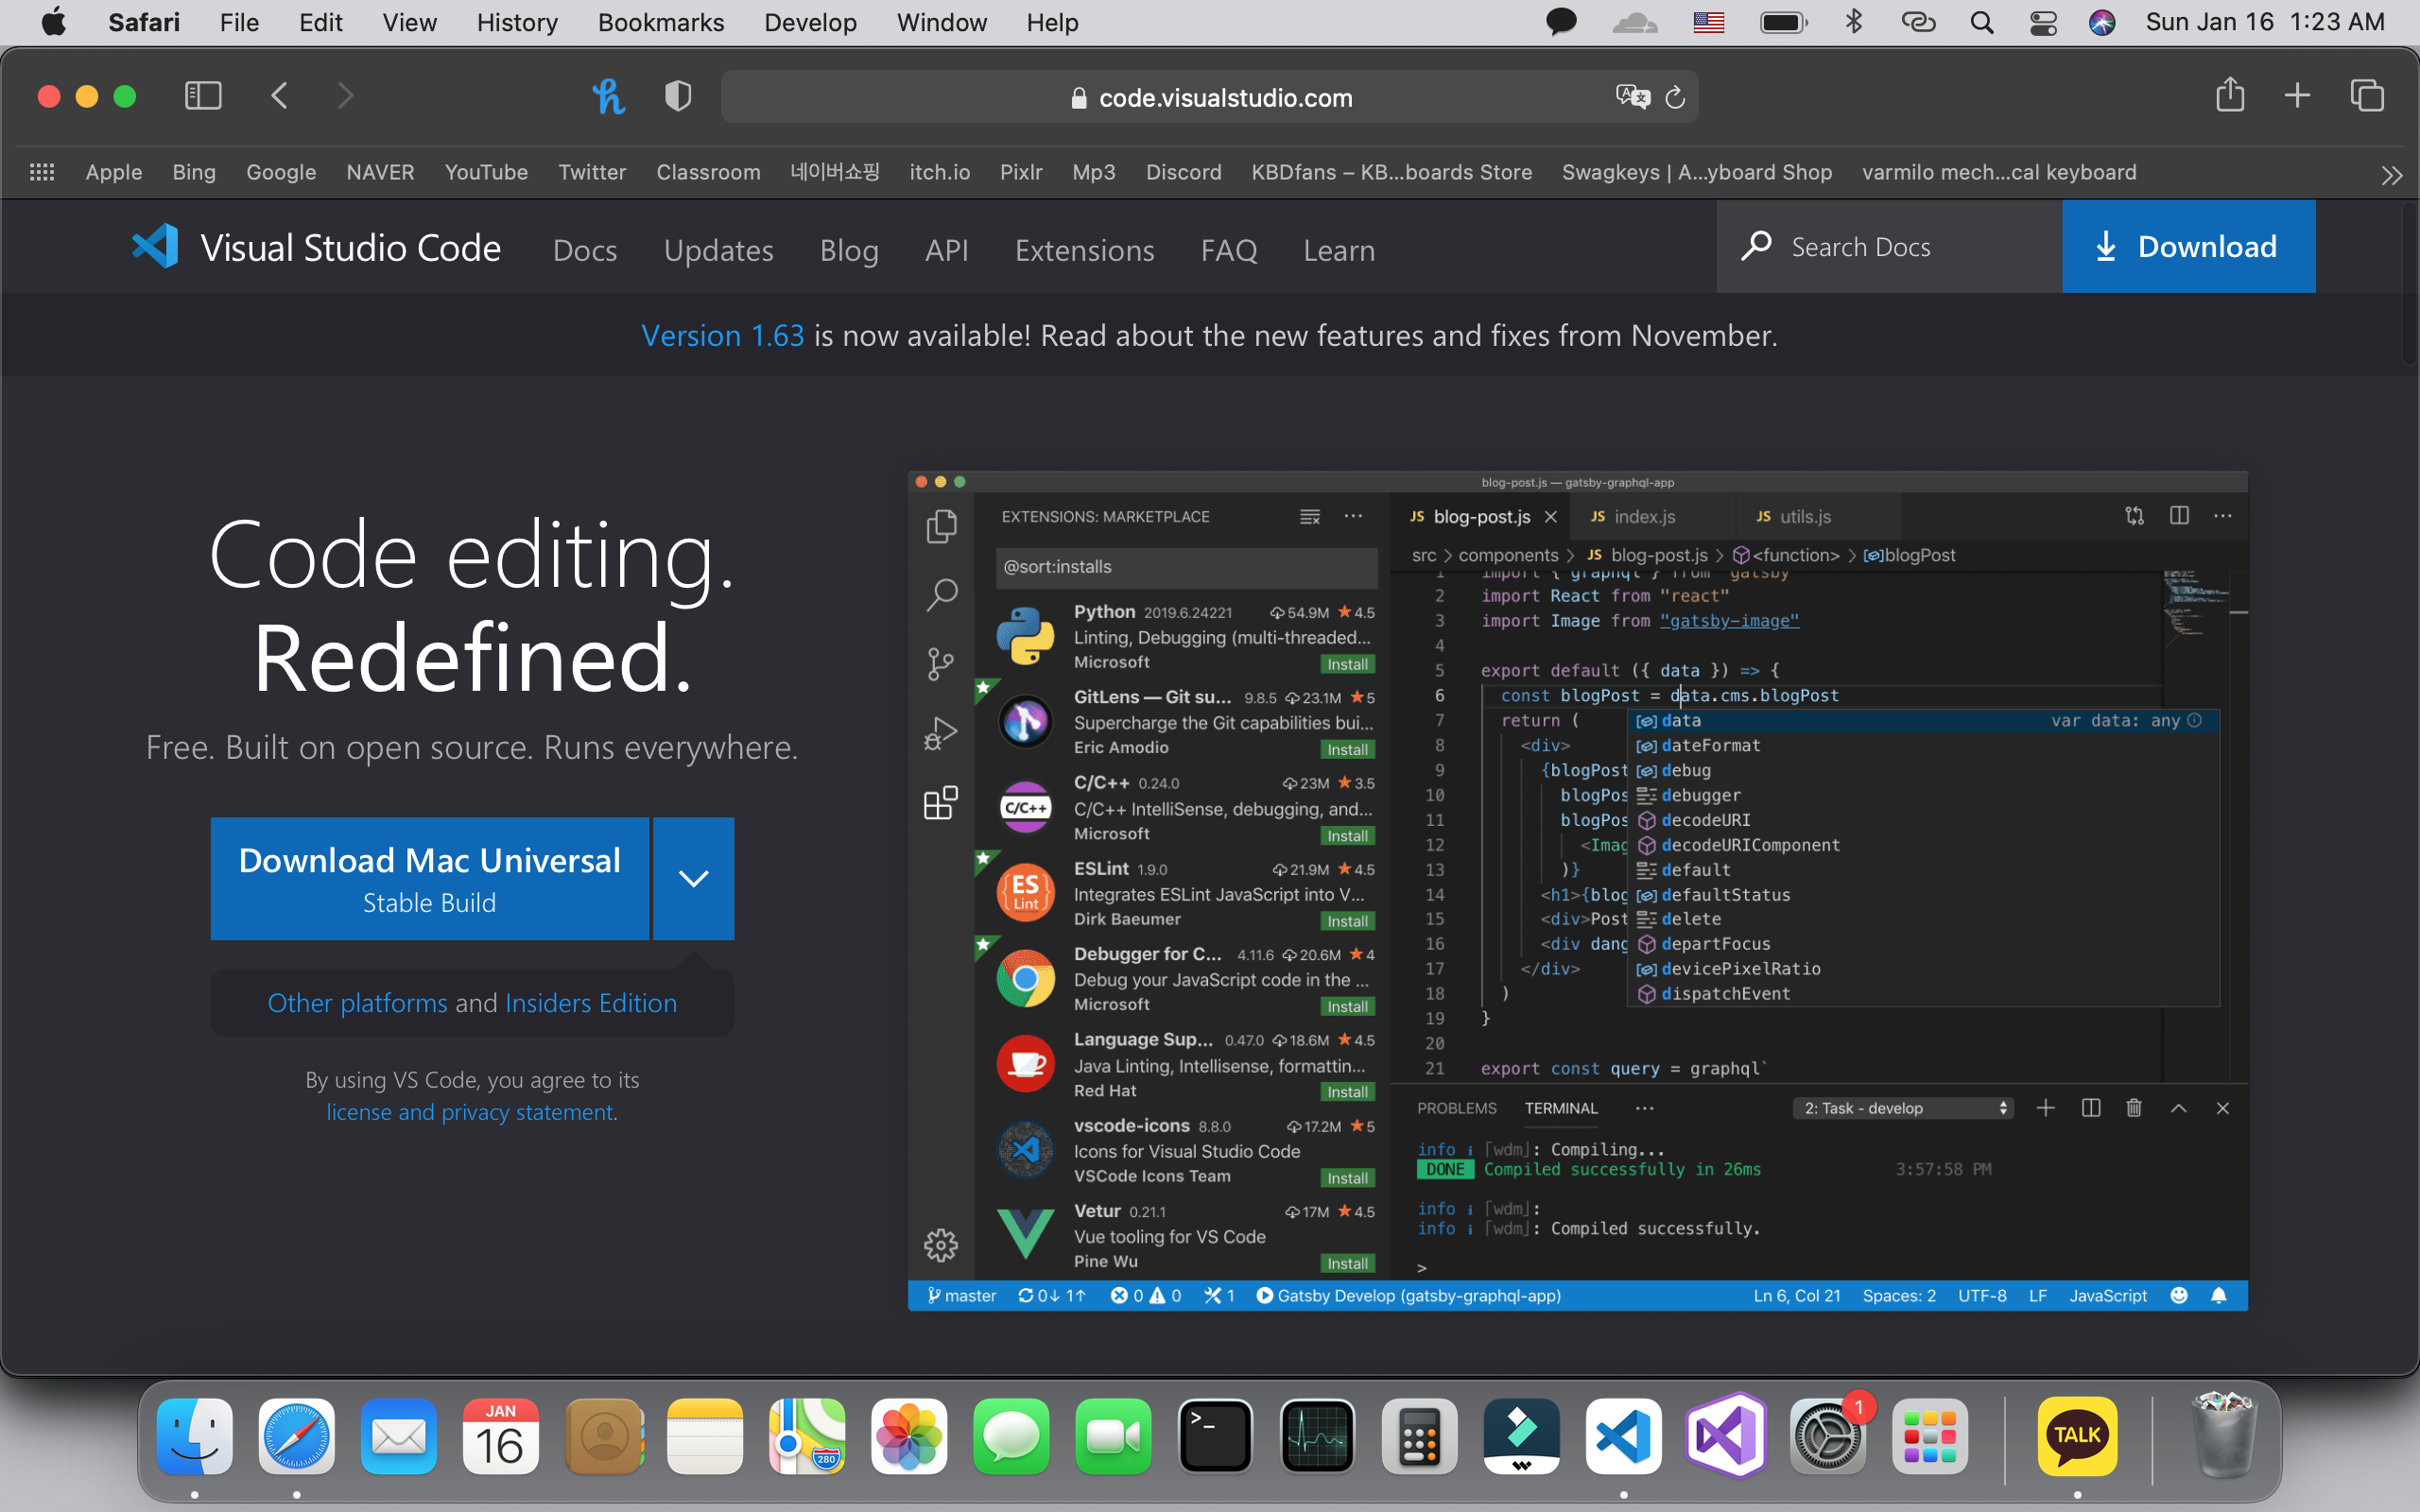
To edit and compile code, you need an editor and a compiler. Visual Studio Code is a popular editor. Download the version for your operating system—Windows or macOS—from the Visual Studio Code website.
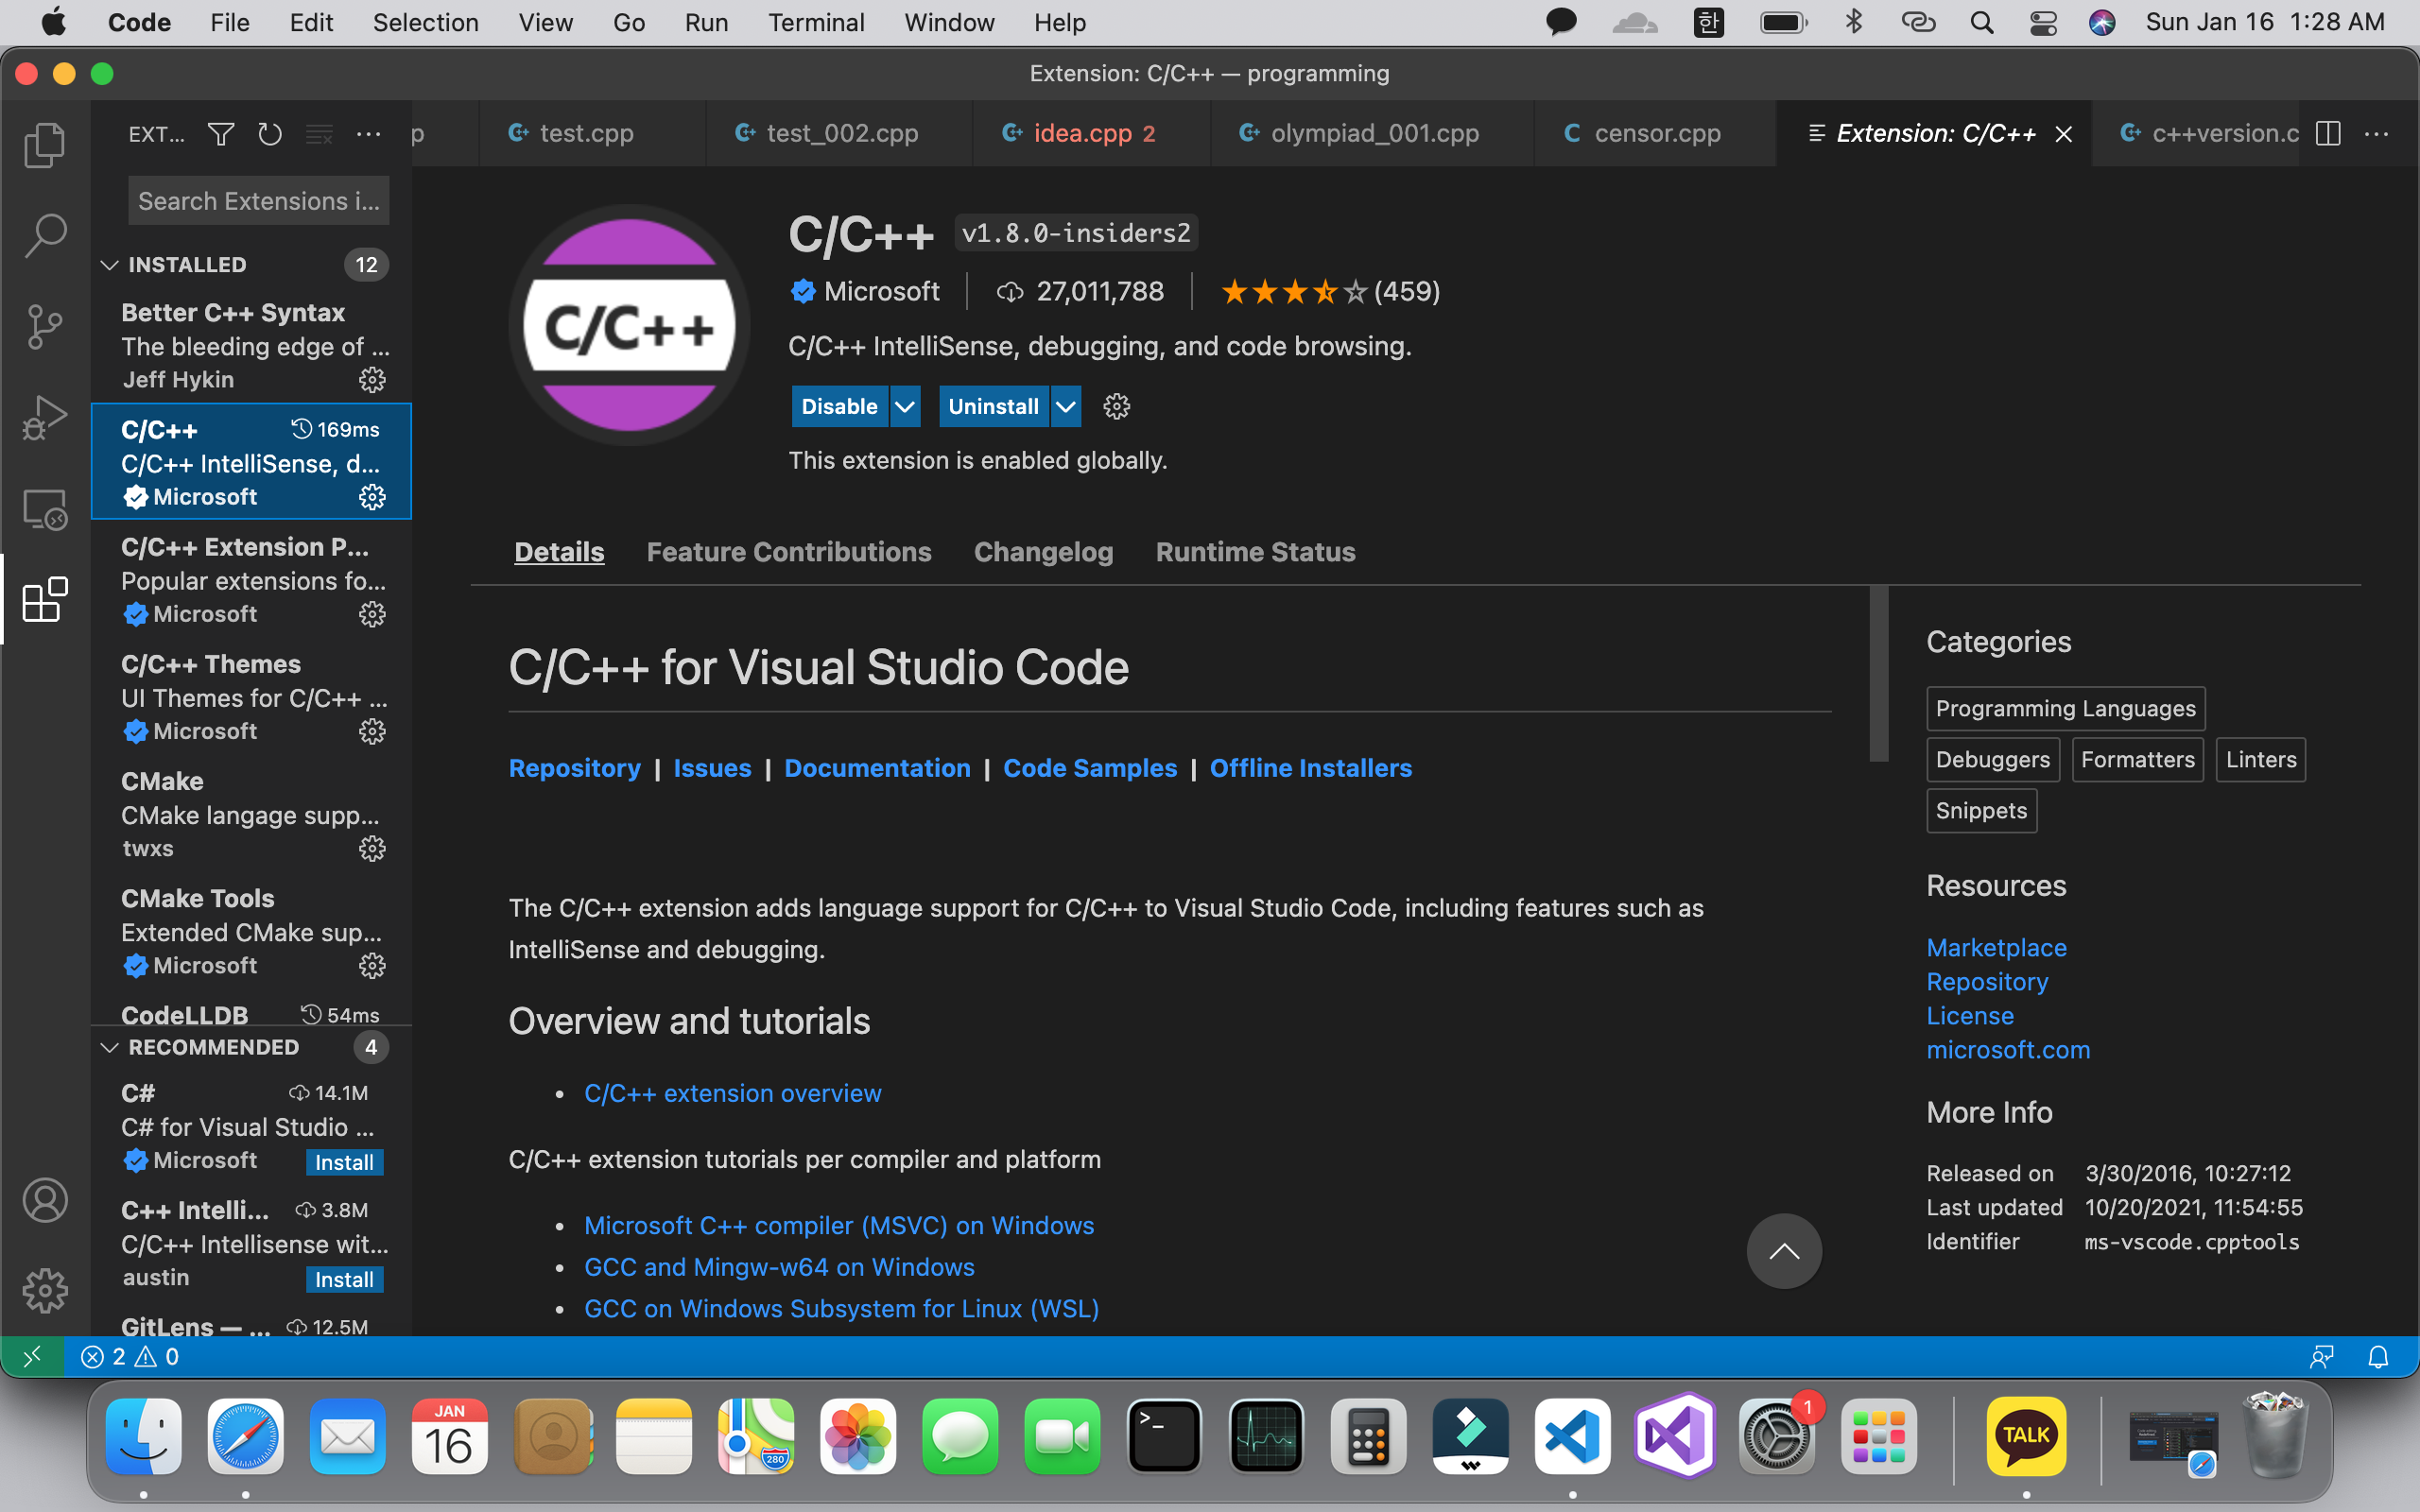
Install the C/C++ extension
Open the Extensions tab in VS Code and search for C/C++. Install the extension to enable C/C++ IntelliSense, debugging, and related features.
The original macOS setup ends here: write your code and use Command + Shift + B to build it.
Editorial note: the extension does not install a compiler. On macOS, this assumes a working C/C++ toolchain is already installed, such as the Xcode Command Line Tools.
Windows setup
For Windows, download MinGW-w64. After installation, locate the MinGW folder containing its executables. In the setup used in this tutorial, it is under Program Files on the C: drive.
Open its bin folder and copy the path. In File Explorer, open the computer's properties, then Advanced system settings → Environment Variables. Select Path, choose New, paste the copied MinGW bin path, and confirm.
Next, install the Code Runner extension in VS Code. Go to File → Preferences → Settings, search for Run In Terminal, and enable Code Runner: Run In Terminal. That completes the setup described in this tutorial.
Moved here from Tistory
I migrated this post from my Korean Tistory blog, I am Jason Lee, to this website and translated it into English. My writing and projects now live together in one place.
The original publication date, code examples, and screenshots are preserved. Editorial notes clarify known issues in the original material.
Original post on Tistory English edition · Aug 30, 2026