Unity fundamentals / 00
Installing Unity
Install Unity Hub and the editor, then create the 2D project used in this archived beginner series.
On this page
Before we start using Unity, we need to install it. The original tutorial begins at the Unity Personal download page.
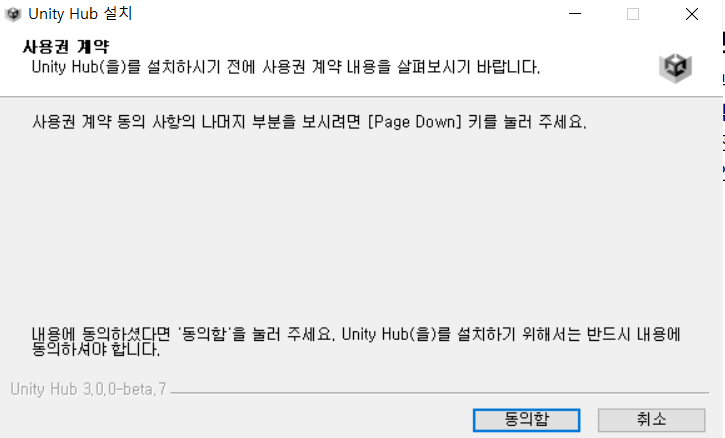
The download installs Unity Hub. Hub helps you manage different editor versions and choose the one needed by a project.
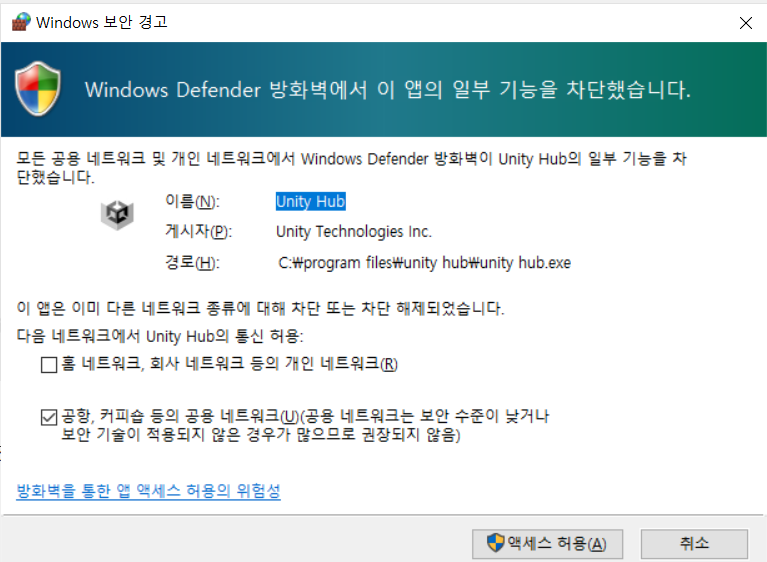
The original Windows setup shows an access prompt and proceeds by allowing access. If you encounter such a prompt, review the application and requested network access rather than approving an unrelated prompt automatically.
Install an editor
In Unity Hub, open Installs. I already had an editor installed in the screenshot, but for a fresh setup you would choose Install Editor.
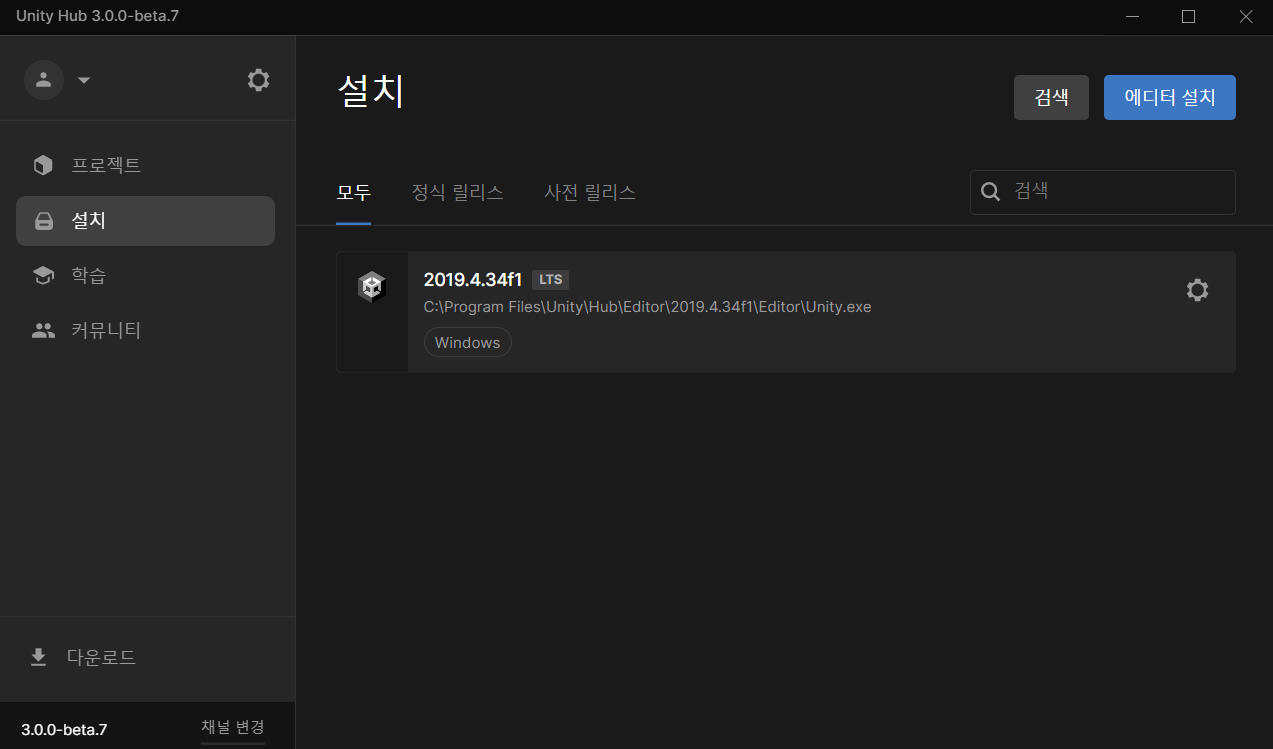
The version used for this series is 2019.4.35f1:
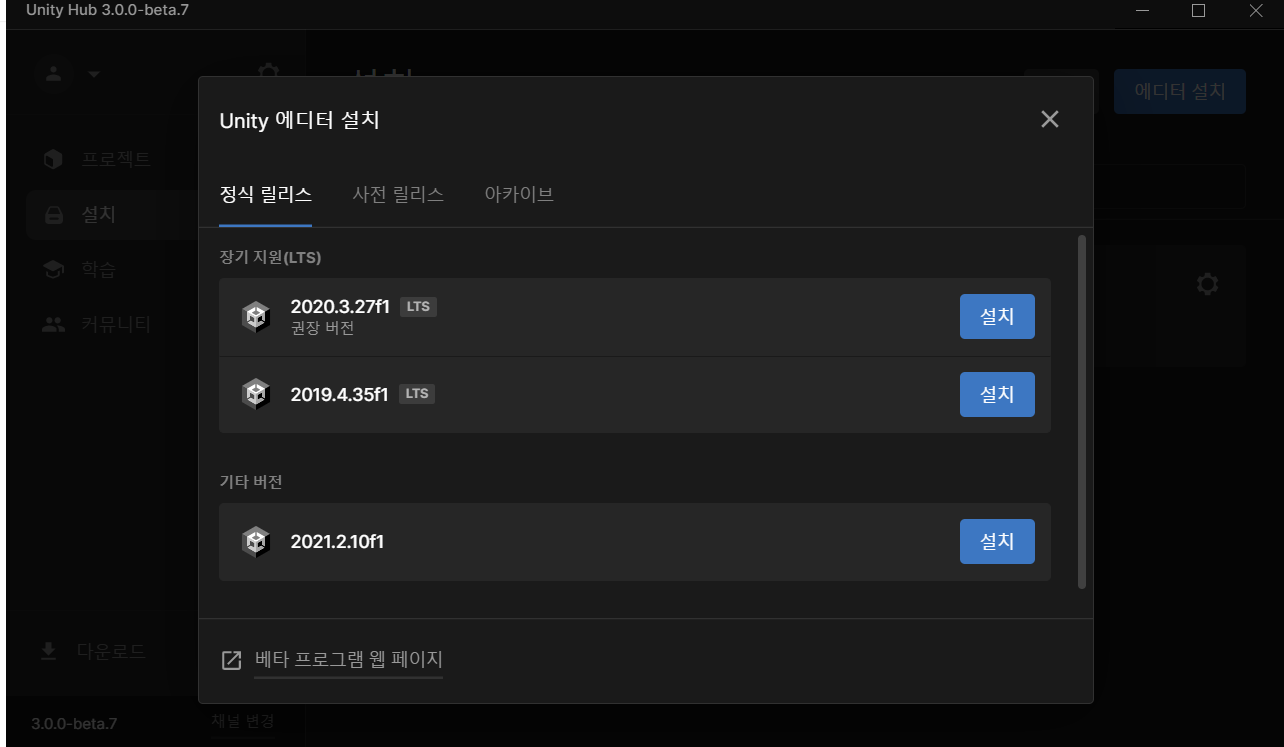
The original author warns that the download can take a long time, estimating over an hour on their setup. Actual time depends on your connection, selected components, and computer.
Archive note: this article documents a 2022 setup. Unity 2019.4.35f1 is retained as the series' original version reference, not a recommendation for starting a new project today. The licensing, Hub interface, and supported editor versions may have changed.
Create a 2D project
Once the editor is installed, open Projects and click the blue New project button. We will begin with 2D development, so choose the 2D template and create the project.
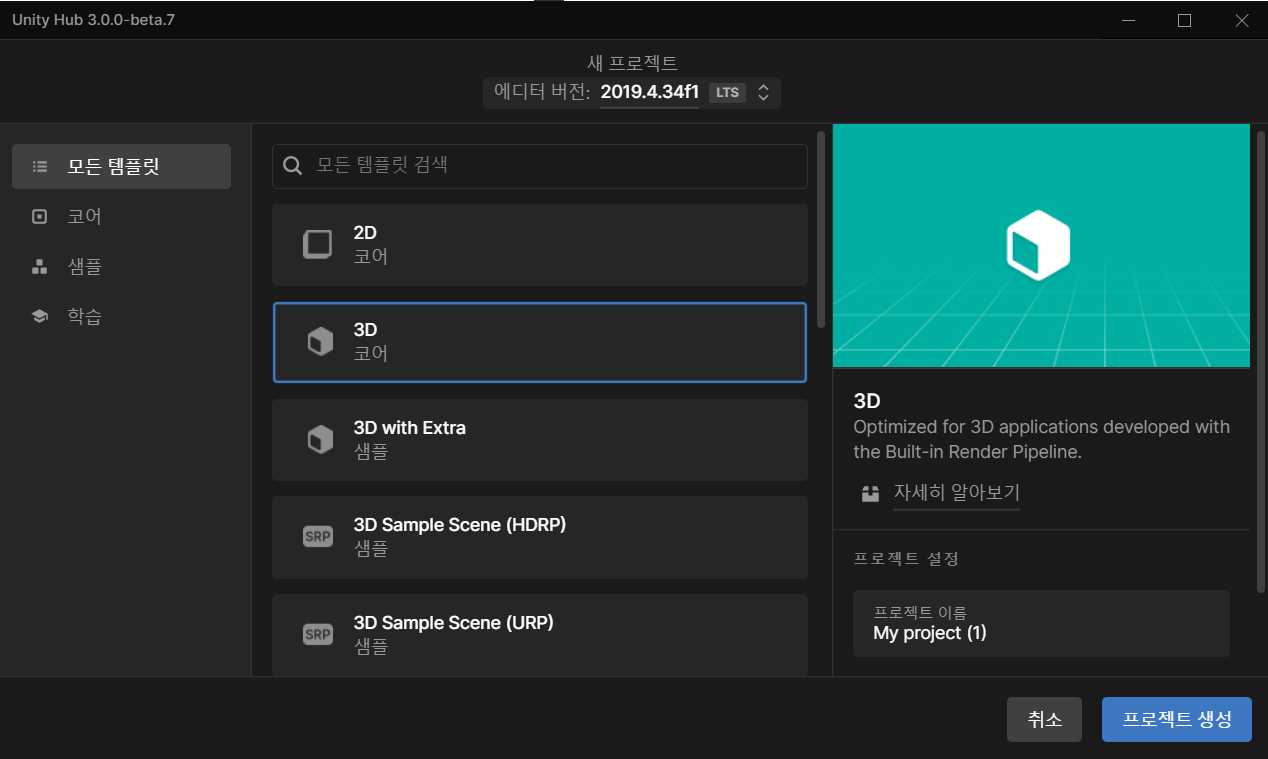
That completes the installation walkthrough. Next, we will explore the Unity editor.
Moved here from Tistory
I migrated this post from my Korean Tistory blog, I am Jason Lee, to this website and translated it into English. My writing and projects now live together in one place.
The original publication date, code examples, and screenshots are preserved. Editorial notes clarify known issues in the original material.
Original post on Tistory English edition · Aug 30, 2026